Laying out holes
Working out hole positions across a home lawn
Putting several holes into one lawn calls for reading where the turf drops, keeping the cups away from standing puddle water, and picking small targets that do not get in the way of short putts. Here is how we sort the layout before cutting any turf.
Walking the ground to find the breaks
A lawn hides slopes until you drop a ball on it. Walk the grass in lines and look at how your ankles tip. Watch where rain pools after a storm, because water shows the lowest point on the plot within minutes. You do not want a cup in that low spot. A cup sitting in a hollow collects silt, turns to mud, and stays wet long after the rest of the grass dries. Put the hole on the gentle rise instead, where the dirt drains and the edge of the cup keeps its crisp circular shape under foot traffic.
Matching pin proportions to yard putts
A tall pin belongs on a full layout where people hit from far away. On a domestic patch, a tall pin is awkward. It catches the wind, leans under its own weight when the soil softens, and sits right in your eye line when you stand over a short putt. A short yard pin with a small flag stays out of the way. It gives you the target without crowding the line of sight. Most of our short poles stand on a disc base that pops the ball back out of the cup when you lift the stick, saving you from bending down after each roll.
Telling different holes apart from a distance
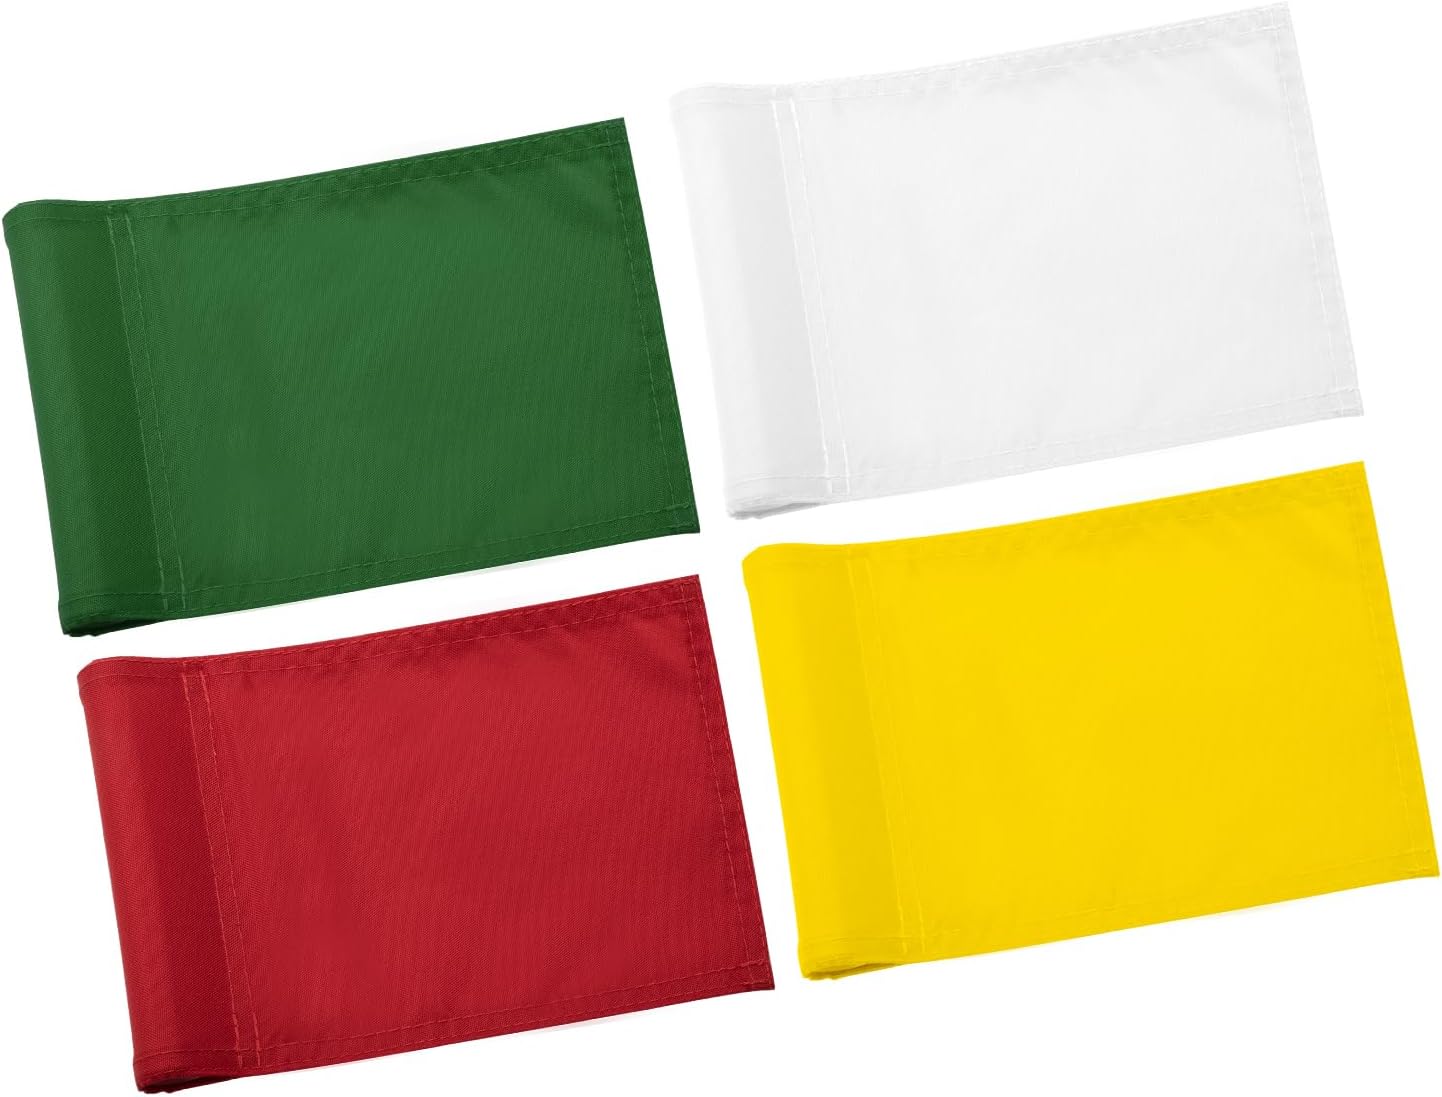
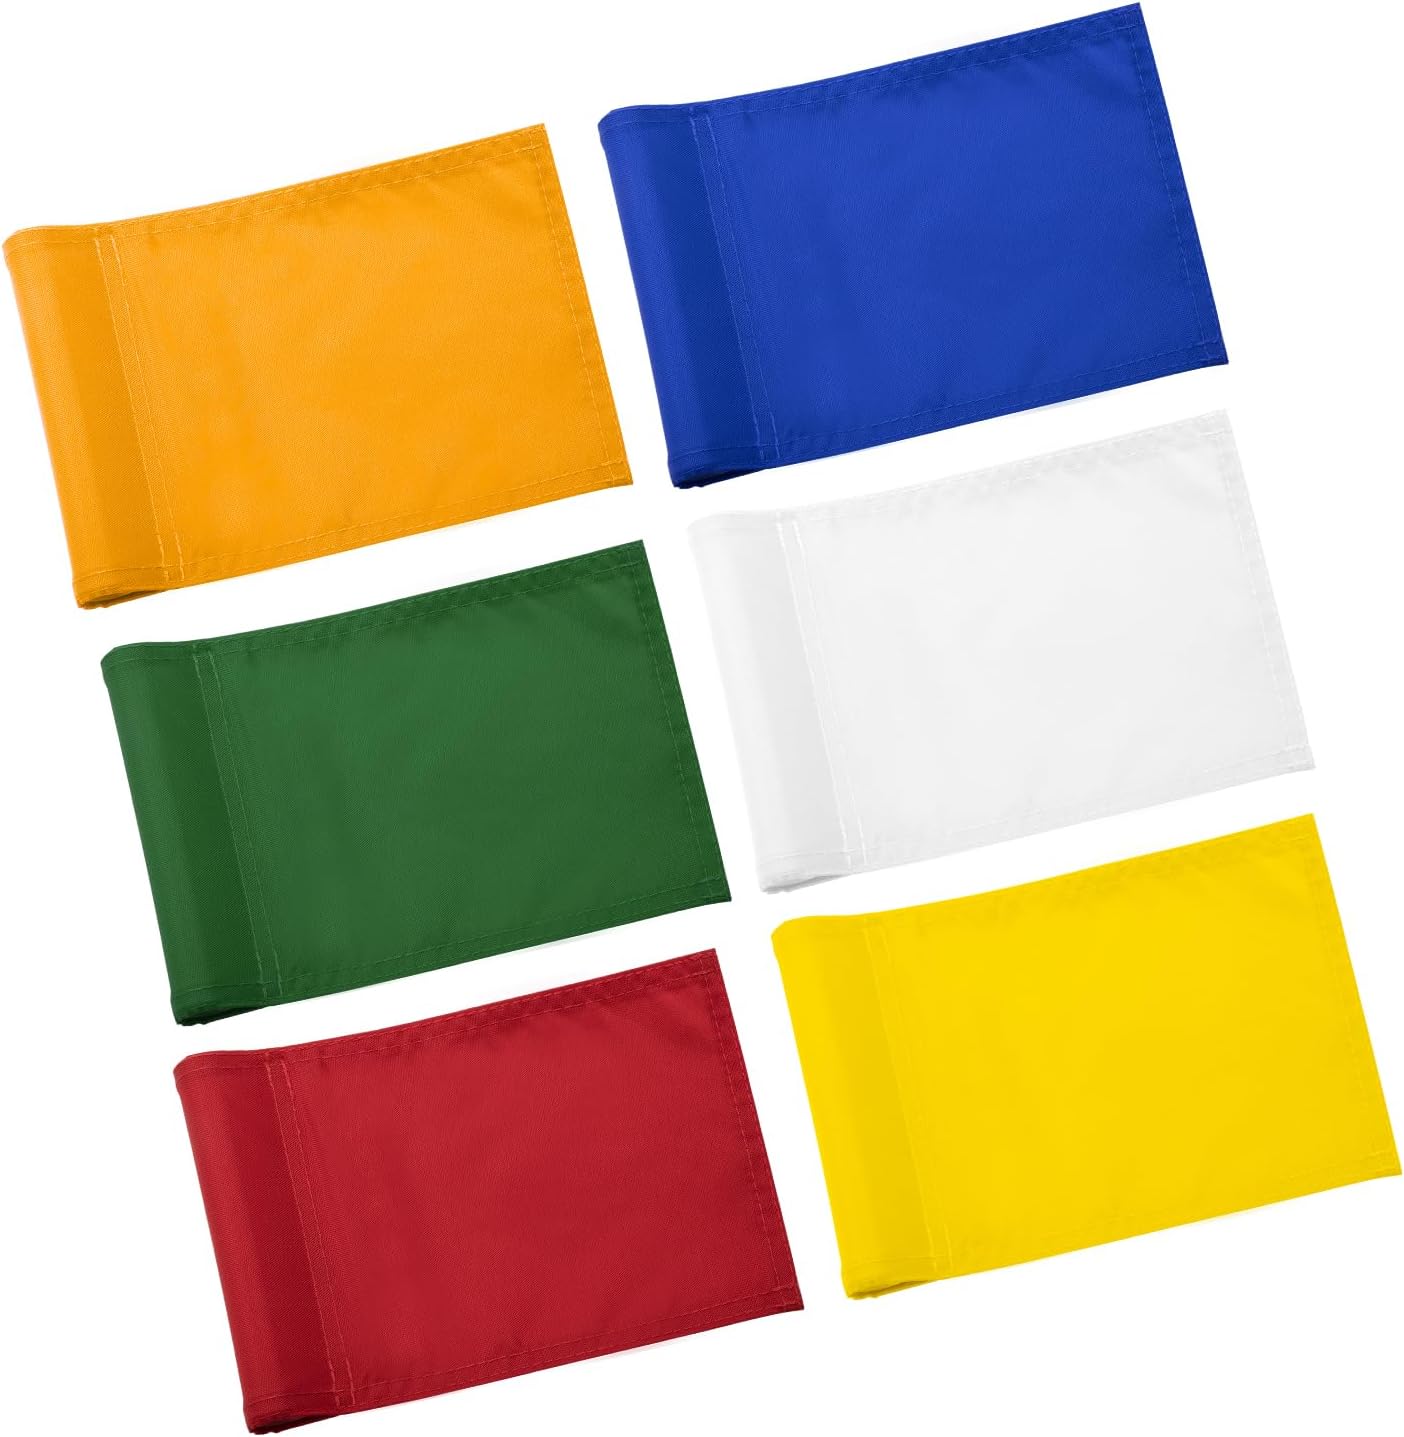
When you cut three or four cups into a single area, they all look alike from the back edge of the lawn. You cannot tell which target you are aiming at without visual markers. That is the whole reason we sew numbers and checkerboard patterns onto small nylon flags. A bright red checker or a bold number one lets you call your line before you stroke the ball. Some people finish the run with a joke flag on the final cup to mark the end of the evening round, which keeps the game light when neighbors drop by.
Choosing the sleeve or the brass grommets
Flags attach to pins in two ways, and mixing them up is the main mistake we see. The first style has a sewn tube sleeve that drops straight over the top of the pole. This sleeve spins around the stick so the flag turns with the breeze and faces whoever is lining up a putt. The second style uses two brass grommets punched into the fabric edge. Grommets attach to poles that have plastic clips or ties built into them. Check your pole before ordering a replacement flag. A grommet flag will not slide over a bare stick, and a sleeve flag cannot clip to eyelets.
Cutting clean and capping the cups
Use a proper cutter to pull the turf plug in one piece so the soil walls remain firm. Our cups come in deep and shallow versions, both built to the regulation golf width across the opening so the ball drops in as expected. The base of each cup has drain holes to let rainwater seep away. When mowing day comes or the yard gets used for other things, take the pins out and drop covers over the openings. Steel covers topped with grass sit level with the soil so the mower blade passes straight over them without catching.
Worth remembering
- Small yard flags hang by a sewn tube sleeve or by brass grommets.
- A sewn tube sleeve allows the flag to rotate around the pole in the wind.
- Checkered patterns and printed numbers let players identify separate cups across one lawn.
- Shallow and deep cups share the identical regulation diameter across the top rim.
- Covers topped with turf sit flush with the surrounding sod so mower blades pass over.
Starting with the right pieces
Get the cups into high ground, match your flag mounting style to your poles, and choose distinct patterns so nobody aims at the wrong hole. If you need replacement nylon after a fence snag, check your stick fittings before picking a new piece.